By Tim S
I was asked by Des if I could write a few words on what tools and spares Sally & I take on cycle tours. Des & Vince are organising some training on maintaining bicycles so this article, I hope, compliments that although I’m sure there are many equally valid, or better, suggestions.
Sally & I ride almost identical, simple, steel touring bikes which means spares are interchangeable and maintenance on the road is as easy as possible. Touring with different bikes may increase the number of tools and spares you need, for example different spare tube sizes or different block removers or spoke sizes. Conversely the greater the number of people riding together may allow you to reduce the load between you by not doubling up on the same tools.
The number of tools and spares we take on tour depends on; (i) the length of the tour, (ii) the likelihood of coming across bike shops and (iii) access to alternative means of transport should we breakdown; trains, bus, taxis etc. So I’ll start with the kit we take on day rides and add to it depending on the type of tour.
Local Day Ride
On a typical Anerley day ride or similar I would take the following;

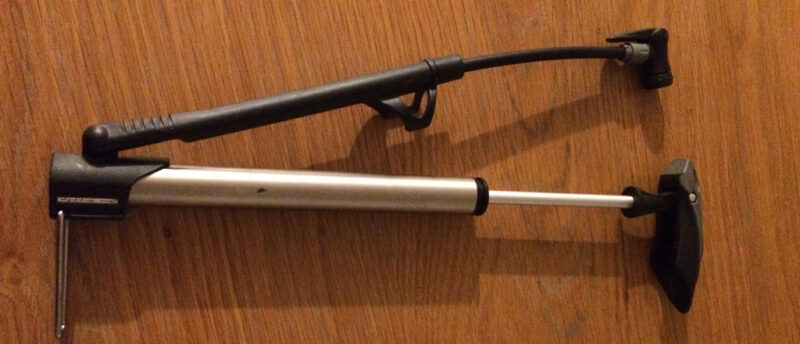
- 1 pump
- 1 spare tube
- Set of 2 metal tyre levers. I’ve had bad experiences with plastic levers on stubborn tight tyres. I’ve had them break or bend on a couple occasions so I now stick with the slightly heavier but reliable metal levers.
- A small number of patches and some glue in case of a second puncture.
- 1 multi tool – with screw drivers and set of allen keys
- Spoke Key – this is not essential but can be useful if a spoke breaks and the wheel needs to be trued if it is badly buckled. It doesn’t take much space or add much weight so I usually travel with one.
A multi day tour near civilisation
For a tour in a country where you are never too far from a well-stocked bike shop (e.g. Britain or France), I would add the following to the tool kit above;
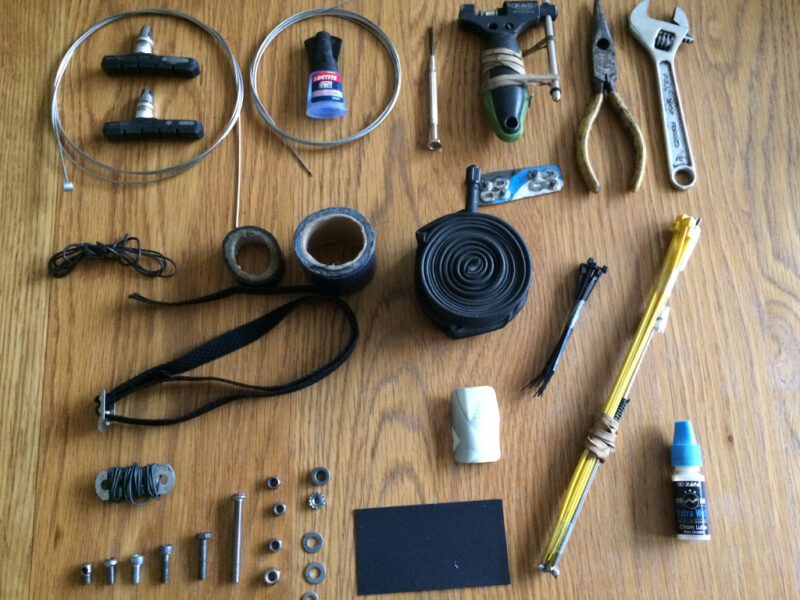
- Chain Link Remover & some quick links. It is so easy to damage a chain if it comes off and gets badly jammed or a stick gets jammed in the drive train. This allows you to remove a couple of damaged links and re-join the chain. You can get smaller lighter chain link removers than the one shown but I have had these break on me and so prefer the more heavy duty version. A lighter one you could consider adding to the day ride list as Barry found out on his trip to Brighton where he heroically walked home due to a broken chain!
- Spare Spokes – a couple of each type; rear drive side, rear non-drive side, front (often the same as the non-drive rear). Not essential if you are confident that shops will stock your particular spokes. Generally you can keep going with some missing spokes if the wheel is still straight enough. I once had 5 rear wheel spokes go in New Zealand. We took all the weight we could off that wheel and managed to limp into a bike shop a few days later! Nb. without a block remover and a chain whip you will not be able to fix a rear block side broken spoke but at least you will be able to provide the correct size to the bike shop. It is also worth noting you can get emergency flexible wire spokes which you should be able to use without removing the rear cassette.
Another handy bodge is you can sometimes bend the broken spoke (black) and then thread one of the spare spokes (red) into the rim and bend that as tightly as possible through the loop in the other spoke, then tension it by tightening the spoke nipple. When buying a touring bike it is worth buying the strongest wheels you can get. Smaller wheels are generally stronger than larger wheels and the higher the spoke count the more tolerance there is to spoke breakages.
- Spare brake blocks (one set unless setting off with worn blocks)
- Spare gear cable (long enough for front or rear gears)
- Spare rear brake cable (that can also be cut down to use as a front brake cable)
- Pliers / Wire Cutters – for shortening cables and for pulling cables tight.
- Adjustable spanner
- Glasses screwdriver (if you wear glasses)
- A second spare tube – or three spares between two bikes.
- Additional patches – about half a dozen or a strip that can be cut into patches of the required size.
- Small container of oil
- The following items are to make temporary repairs to mud guards, racks etc.
- Toothpaste tube cleaned and cut to a patch size to support a badly damaged tyre and keep the inner tube protected. I have used a piece cut out of a coke can and stuck it into the tyre with Elastoplast! This worked for a couple of hundred miles!
- Spare nuts, bolts and spacers/washers – check the bike for all the different ones required
- Zip Ties – couple of large and a couple of small
- Gaffer Tape (for strength) & Insulation Tape (better at sticking to some surfaces)
- Electrical Wire – if you have a dynamo
- Strong Wire – for binding something up
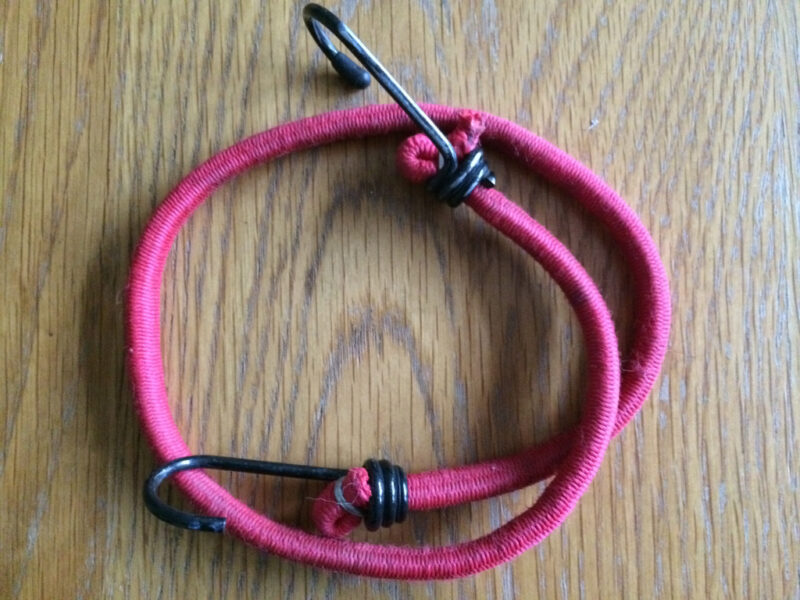
- Bungee cord – keeping panniers from swinging out if the bottom clip breaks.
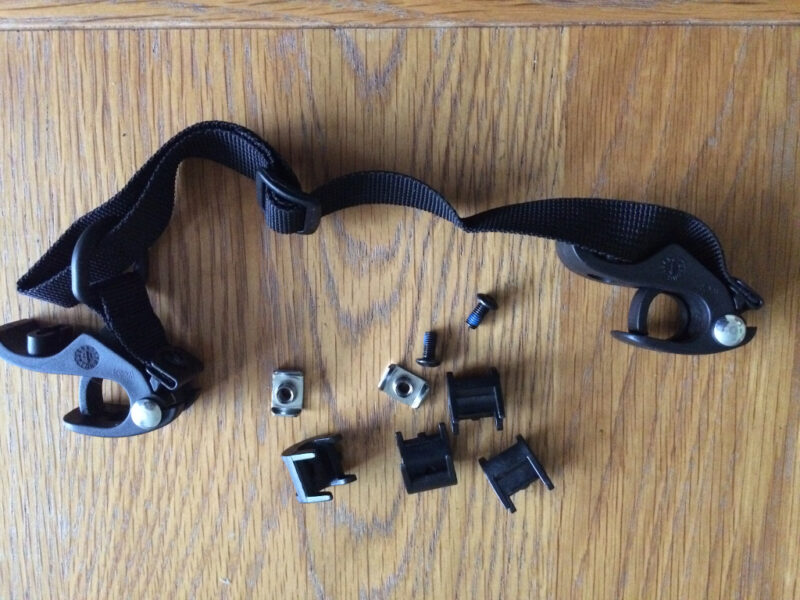
- Toe strap – advantage over the above items is that this is easy to take on and off and won’t stretch like a bungee. For example if you need to attach a pannier to a rack.
- Super Glue – good for fixing all sorts of kit including shoes and camping equipment. I have glued a rack back together with the help of ties to hold the edges together. I have also successfully glued a pannier clip back together and used part of an old toothpaste tube to re-enforce the repair. This is still working 6000 miles later!
Extensive Tour with extended periods between cycle shops
Typically this is a long trip with parts of the journey where you are more than a day from civilisation and potentially a week or more from a cycle shop and even then the cycle shop may not be well stocked. On these rides I would add the following to the two lists above;

- Block remover – to allow removal of the rear cassette. This will be required if you need to change a spoke that has broken on the block side of the rear wheel. Unfortunately this is the most likely spoke to break!
- Chain Whip – this is required to hold the block while using the block remover with a spanner to remove the locking cog.
- A good (but heavy!) set of wire cutters. These should be able to cut cables cleanly making it easier to thread through the outer casing.
- Spare Chain
- Additional small spanners that are easier to use than an adjustable spanner.
- Additional large or small allen keys that are either not on the multi tool or where the multi tool is hard to use (due to lack of space)
- Additional nuts, bolts, spacers, washers etc.
- Additional brake blocks.
- Slightly bigger container of oil.
- Spares clips etc. for the panniers.
- I’d also recommend an additional pump as a broken pump can make a simple puncture into a major problem! It’s not too much extra to carry when shared between two. I take a mini track pump as it makes pumping easier and quicker.